Painting Ikea Furniture
When it comes to home decor, being stuck inside our own spaces during a global pandemic has mostly driven each of us one of two ways: either wanting to eliminate visual noise around them OR amping up how their personality is reflected in their space. If you want to change something up, paint is always a really easy way! But when you have a laminate piece, popularly found at IKEA, painting requires a bit more prep.
What is laminate?
Remember when you were a kid and things would be laminated? It’s the same idea here—a laminate finish means there is a coat of plastic on top of usually a paper design on top of particleboard. For my 3 pieces, the paper was just white paper but sometimes it’s a faux wood design.
Plastic is hard to paint because it is a non-porous material. That is, there’s nothing for the paint to adhere to. So we gotta alter the surface!
Step 1: Scuff sand
The laminate surface is really smooth so step one of altering the surface is just honestly scraping it up. We have two options here:
- What I thought a scuff-sand was before I researched it for this post: I used a low grit (80) sandpaper and quite a bit of elbow grease to really make sure I was creating a rough surface for the primer to grab onto.
- What a scuff-sand really is: High grit (120+) sandpaper with a light touch. I’d try this on my next piece to see how it changes things!
Step 2: Primer
Sometimes primers are to help conceal a base color but in this case, we’re adding extra grippiness for your final paint! You want to look for a bonding or adhesion primer (from what I can find it seems to be two words for the same thing).
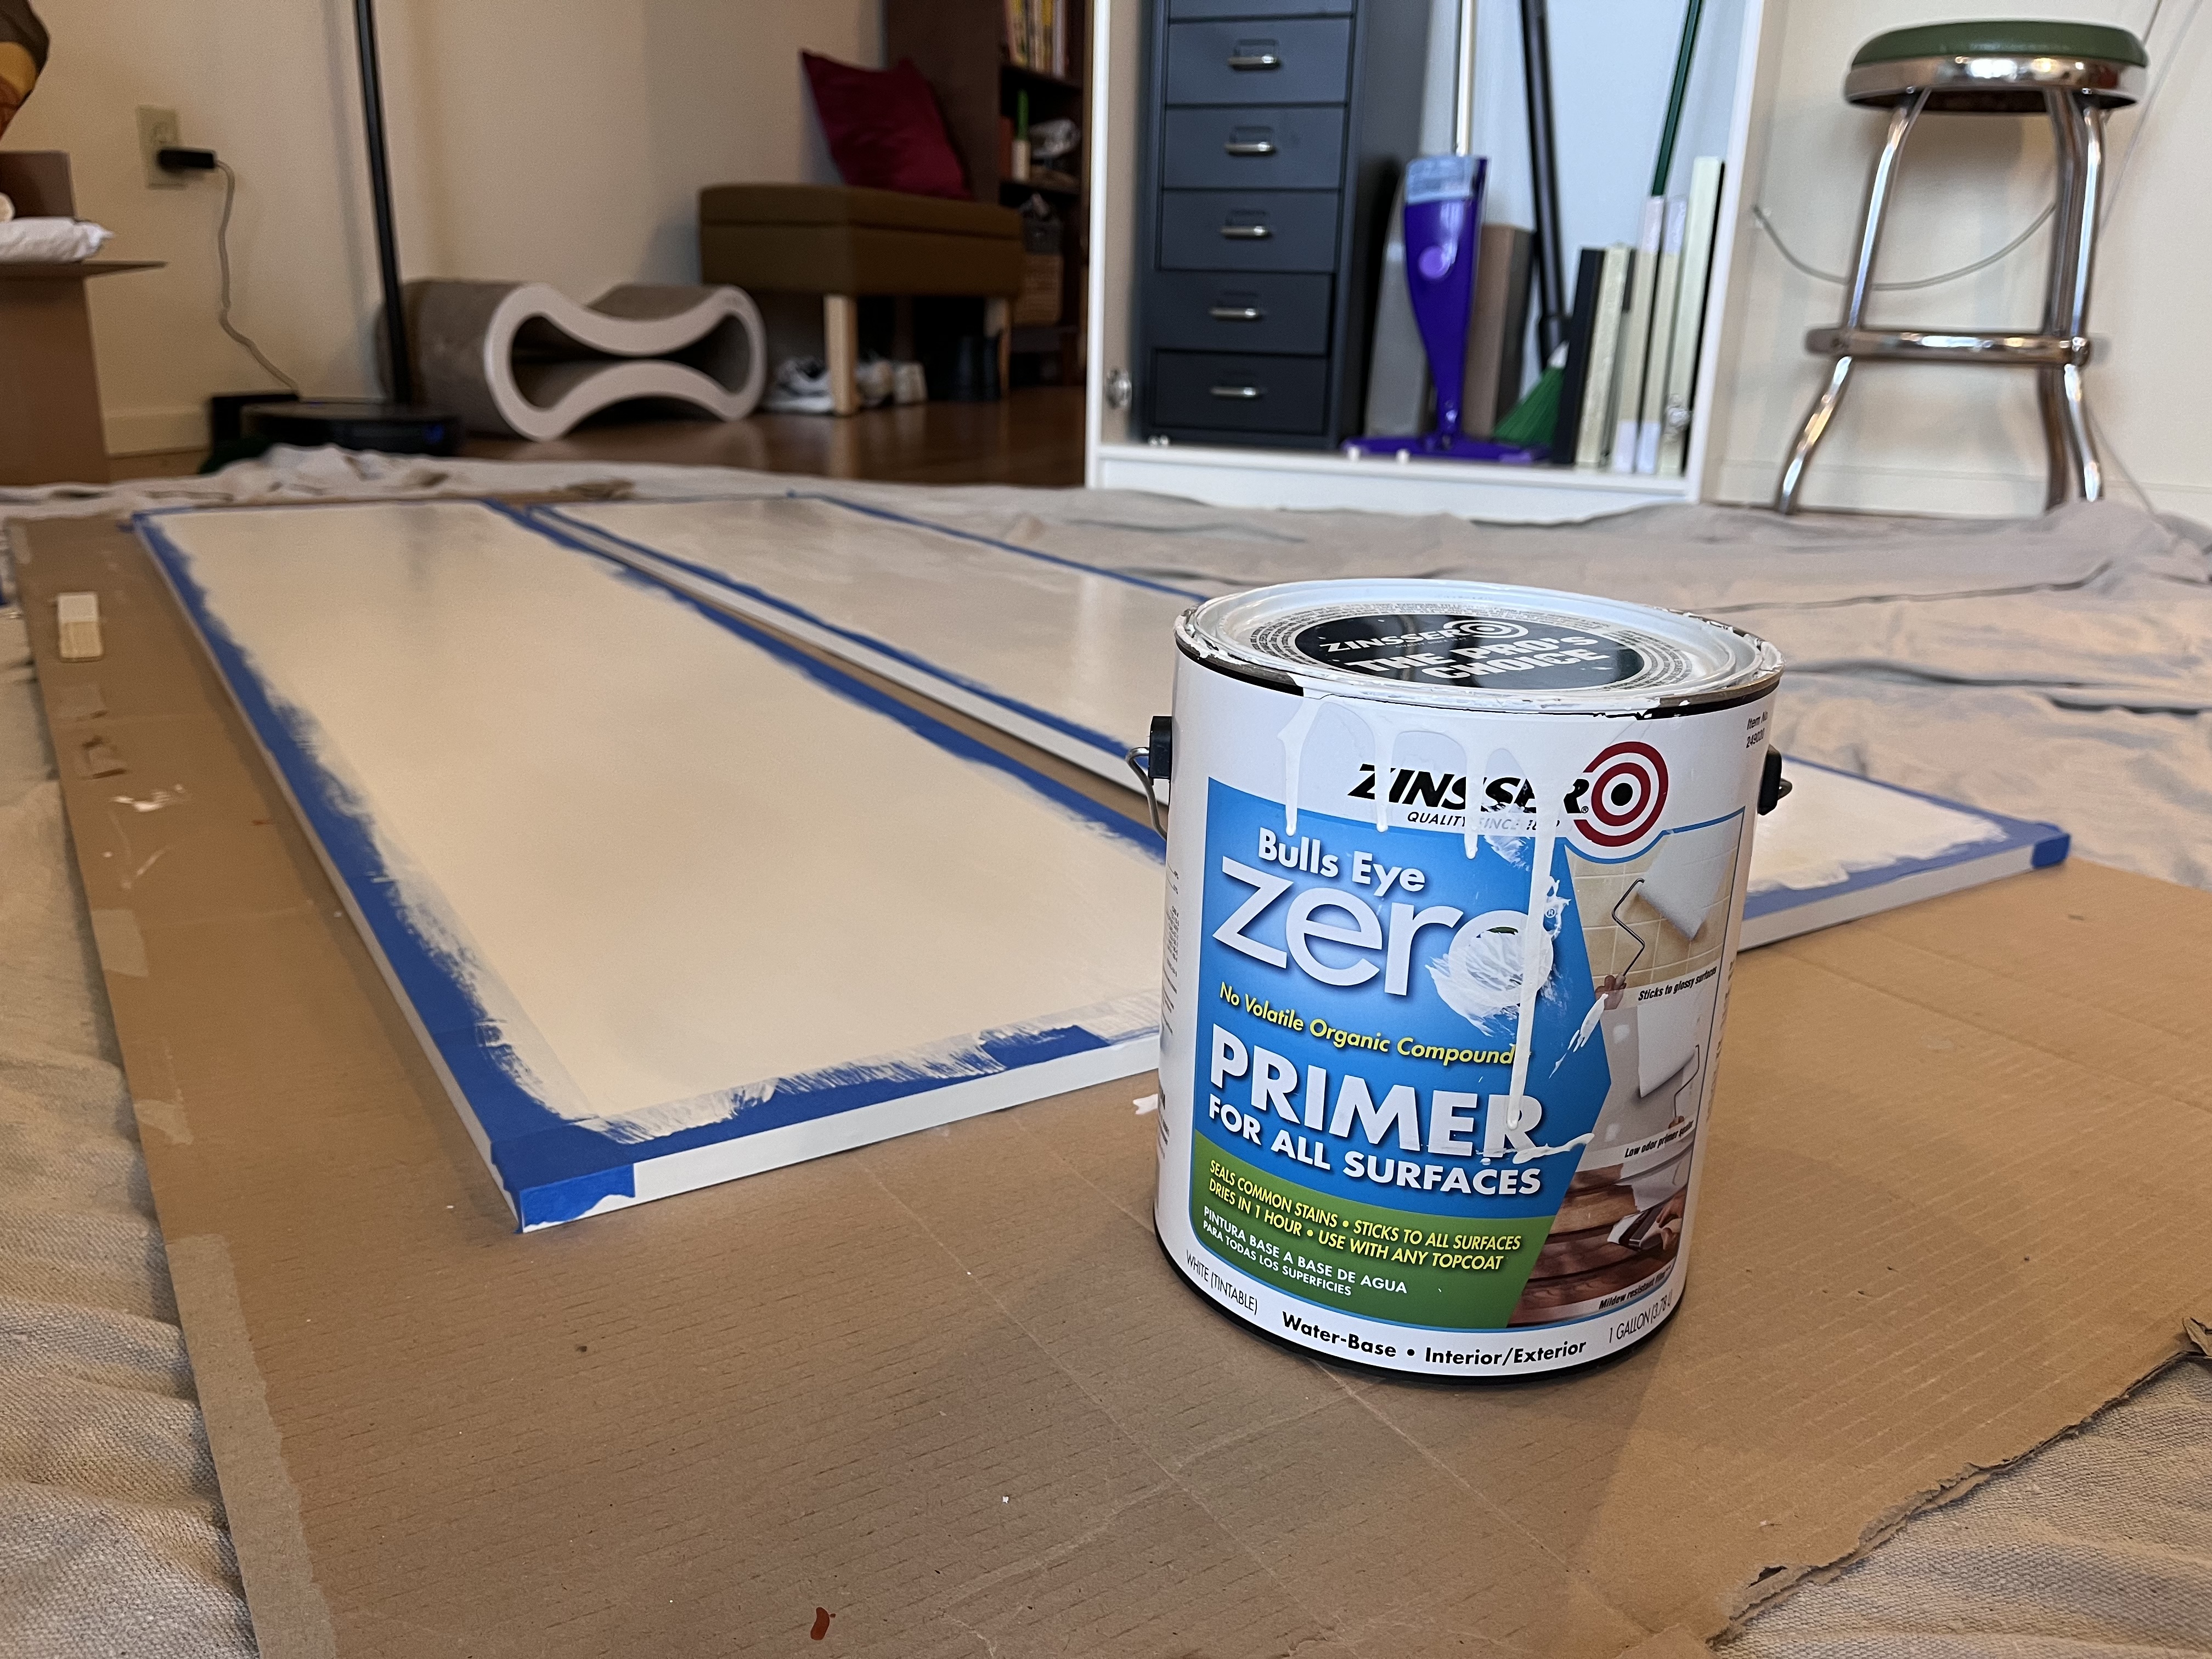
I was able to find Zinsser Bulls Eye Zero primer at my local hardware store. Zinsser Bulls Eye 123 also gets a good rep online.
Two tips here:
- I suggest doing 2 coats of primer. It’s hard to tell with white primer on white laminate, but I noticed after the first coat of primer there were some parts that still repelled the primer a little bit—parts where the laminate still shone through. Two coats provided the coverage I needed!
- Wait a LONG time between coats. This is the foundation and each coat seals in the previous layers even more—meaning that if the previous layers haven’t fully cured, they probably never will. This is usually what causes a painted surface to be easily scuffed. My primer said to wait three hours, so I did that on my first piece and it really wasn’t enough. I then started waiting 5 hours and was really happy with the results.
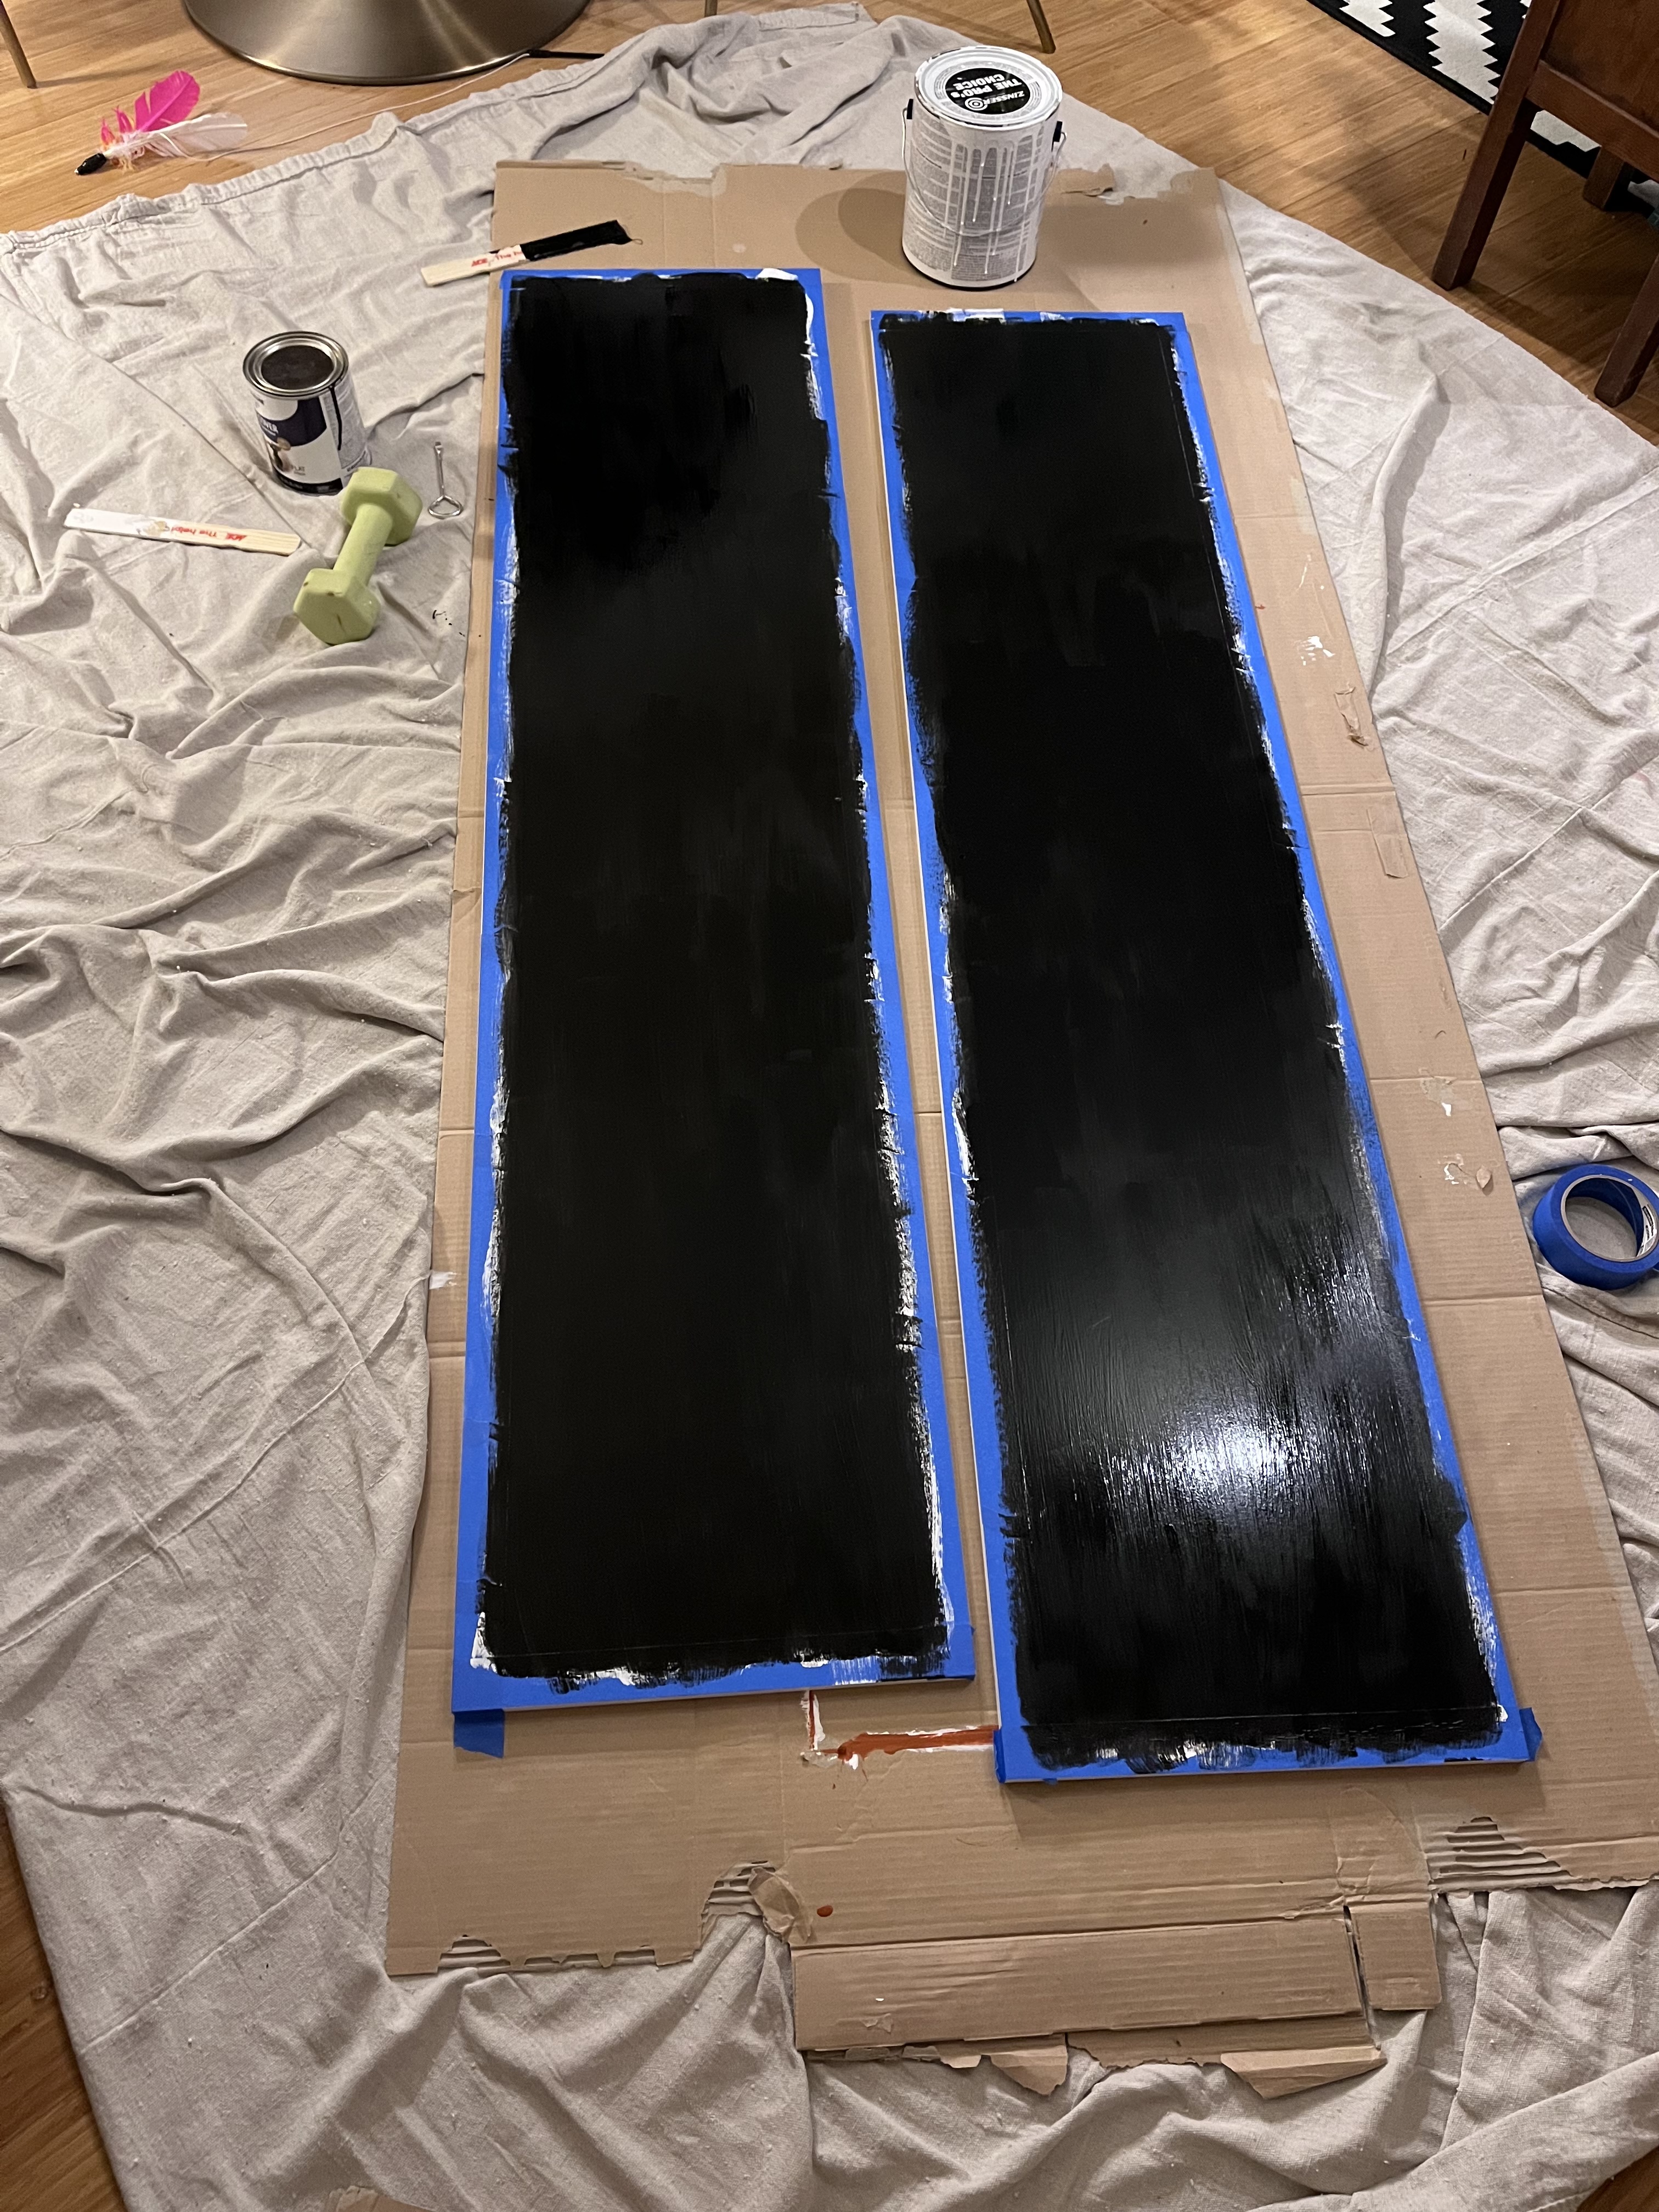
Step 3: PAINT!
Now that you’ve put hours into prep, it’s time to do the fun part—applying the color! No extra tips for this step that you haven’t already read. Waiting 5 hours between each coat is beneficial here as well.
Number of coats is up to you, with two coats minimum. In my experience, two coats is fine for lighter colors and I’ve done up to four for darker colors.
Before putting anything on the painted piece of furniture, especially another painted surface, I like to wait a solid 2-3 days to really make sure things are cured.
Left as an exercise to the reader
One question left to you is do you want to paint your piece while it is assembled or while it is disassembled? Here’s what I’ve found:
- Shelves are easier to paint while in the piece of furniture. Think about it: you’ve painted 2 layers of primer, and at least 2 layers of paint, and then double that for both sides of the shelf. So perfectly sized shelves won’t fit! On top of that, if any paint drips down the sides of your shelf, that adds an extra layer. Painting the shelves in does fix them pretty permanently BUT it eliminates the need to sand them to make sure they fit again.
- Doors are easier to paint off of the piece of furniture. This is less complicated to explain—laying the door on the ground (or propped up on something) makes it easier to access all the sides you need.
- And then my least opinionated of these: I’ve been painting the body of the furniture fully assembled. This is partly due to the shelves rule, these pieces are made to slot together at the current thickness that they are and adding paint may change how easy it is to put things back together. But it’s also due to the fact that I’m painting inside my apartment with a cat roaming around and being able to paint something while it is standing up just saves floor space.
Areas to explore
Every piece I do, I learn something and adjust it for the next time! Now that I’ve done three laminate pieces, there are a few things I want to alter and experiment with:
- A proper scuff-sand. Like I said above, I learned while researching this post what an actual scuff-sand is. I had previously just kind of guessed but now that I know, my next piece will be prepped with fine-grit sandpaper and a light touch!
- Using a self-leveling additive. This is something I’ve seen getting popular on Instagram & tiktok as a way to eliminate brush strokes. It basically thins the paint out a little bit so the paint has a chance to spread out to a smooth surface before painting. (Note: you can skip this if you sand between coats! But since it is me and my cat inside an enclosed space, we don’t really do that.)
- Adding a top coat. While my painted laminate is getting more durable, from what I can tell adding a top coat (or sealer) will take it to the next level. They dry into a much harder surface than your traditional paint does. Based on reading a list of The Best and Worst Sealers for Painted Furniture from Lovely Etc., I’m very curious to try General Finishes High Performance Top Coat.
Final results
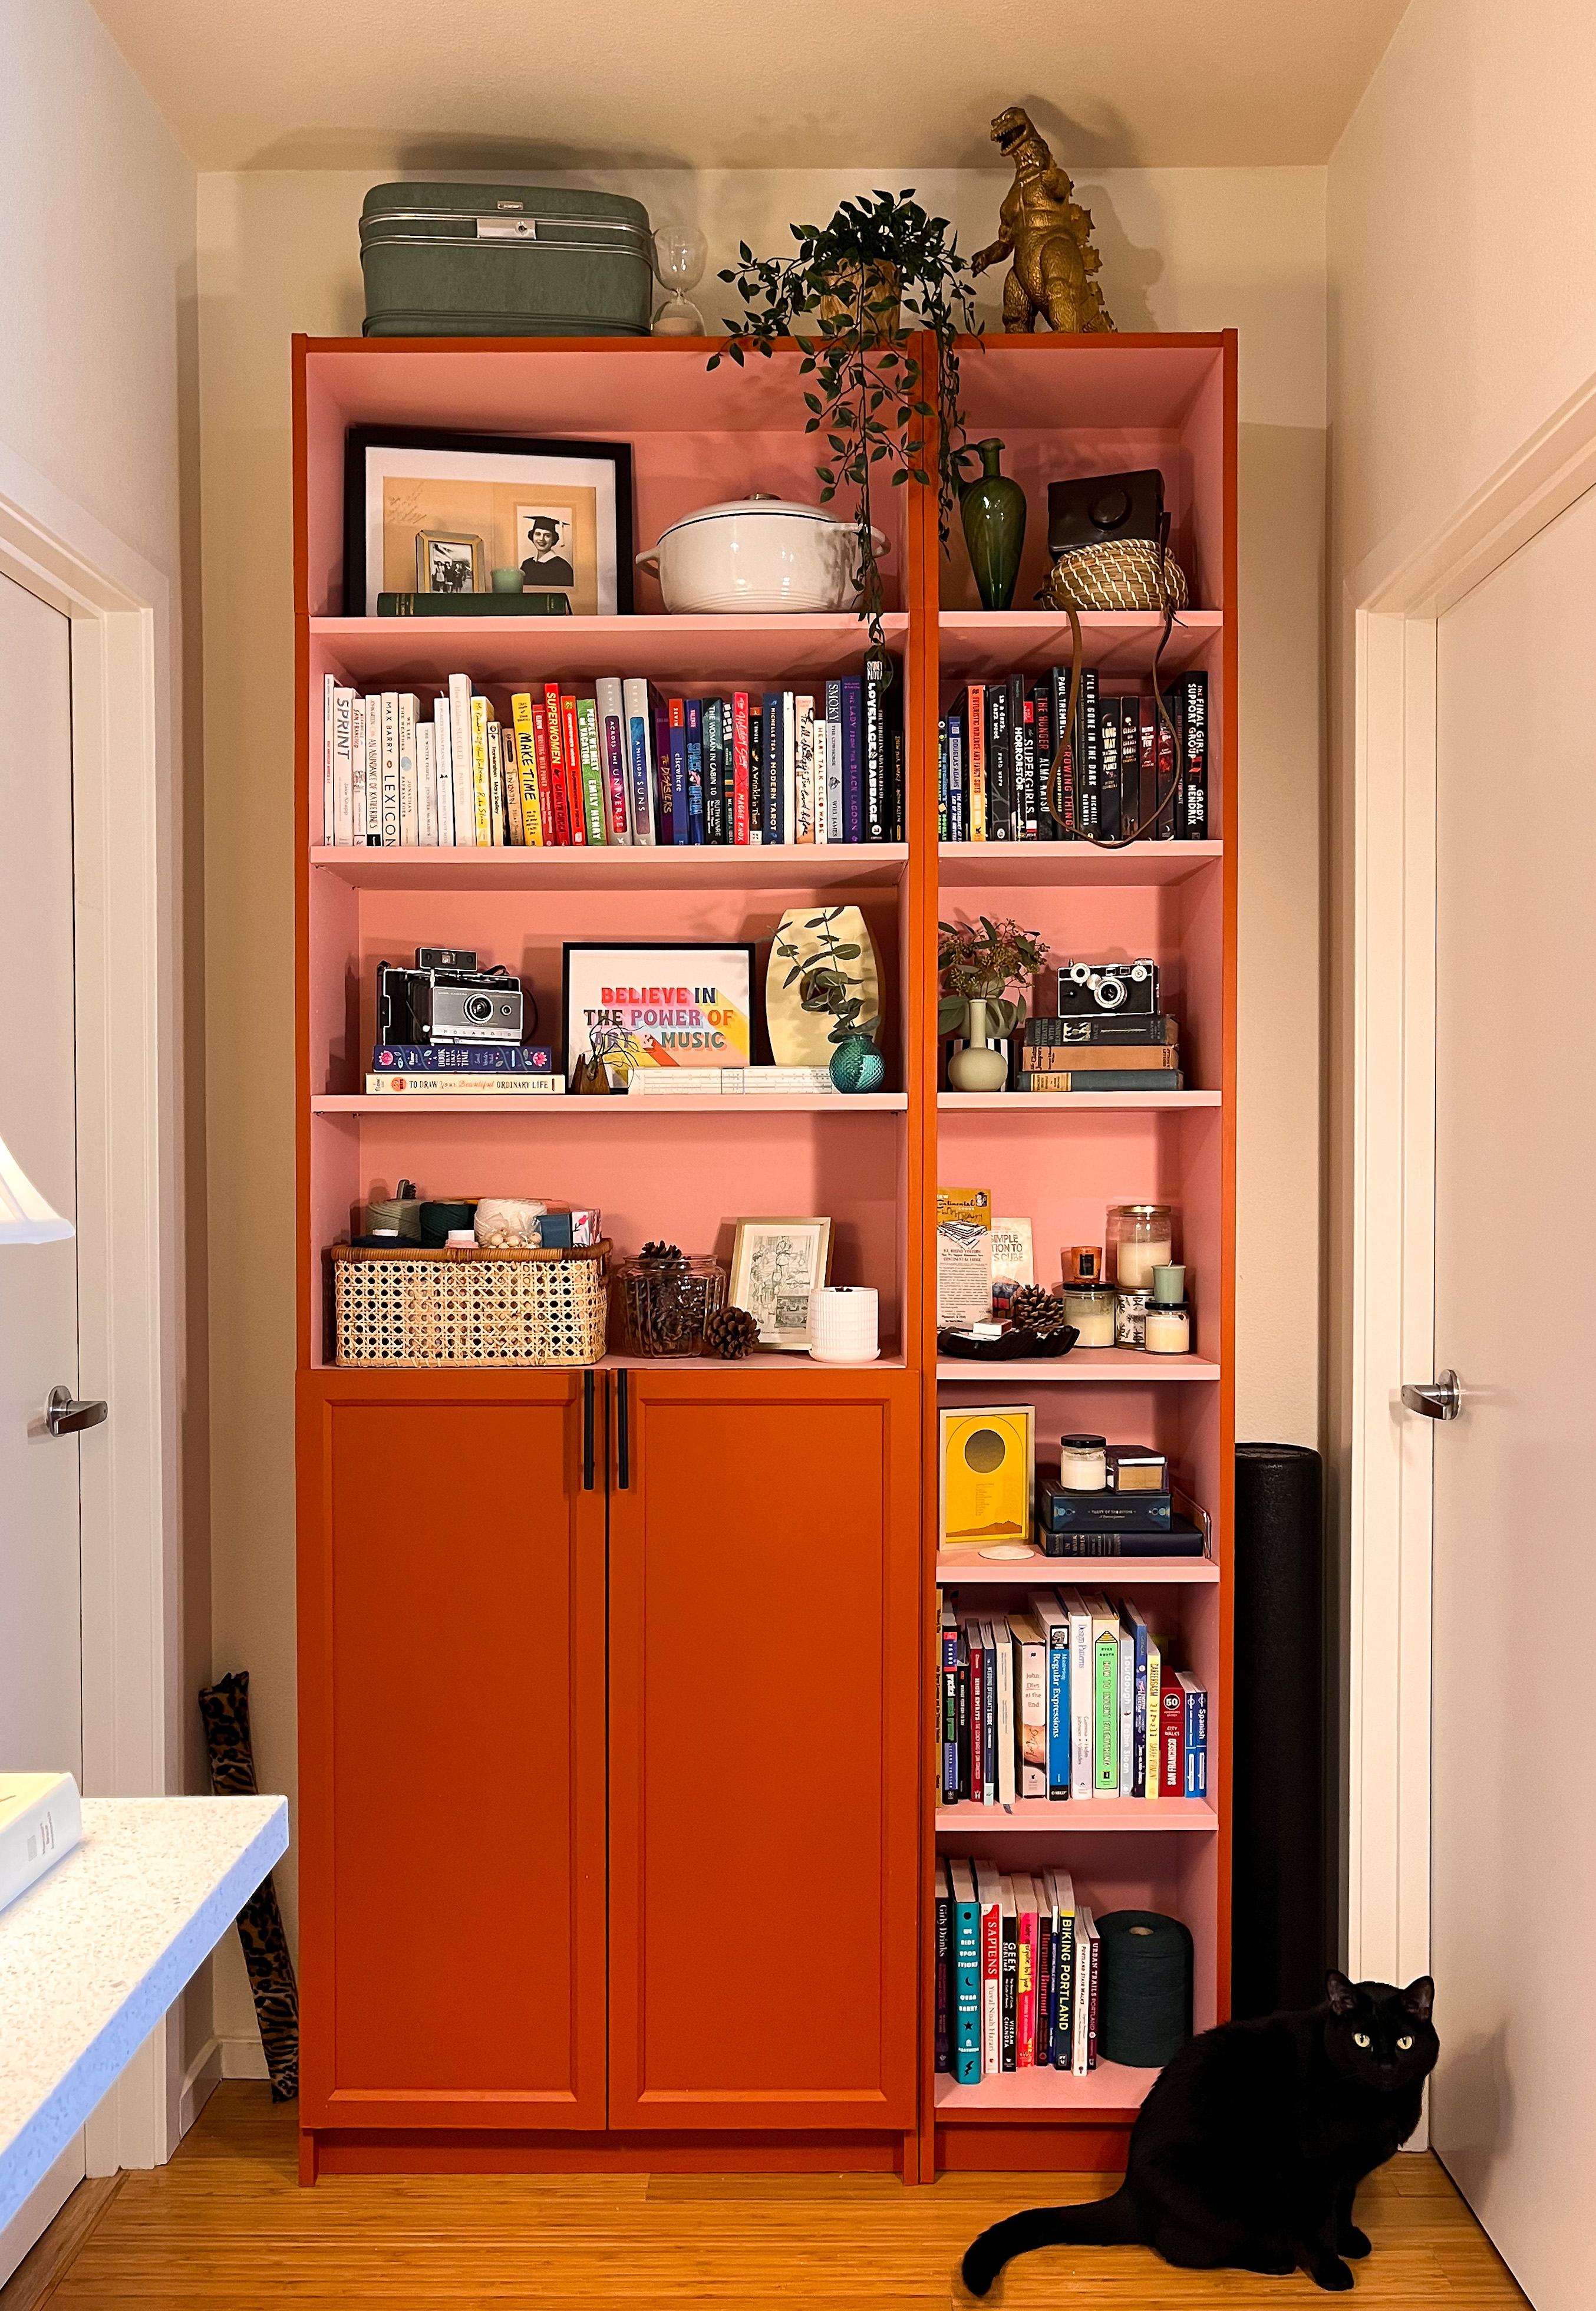
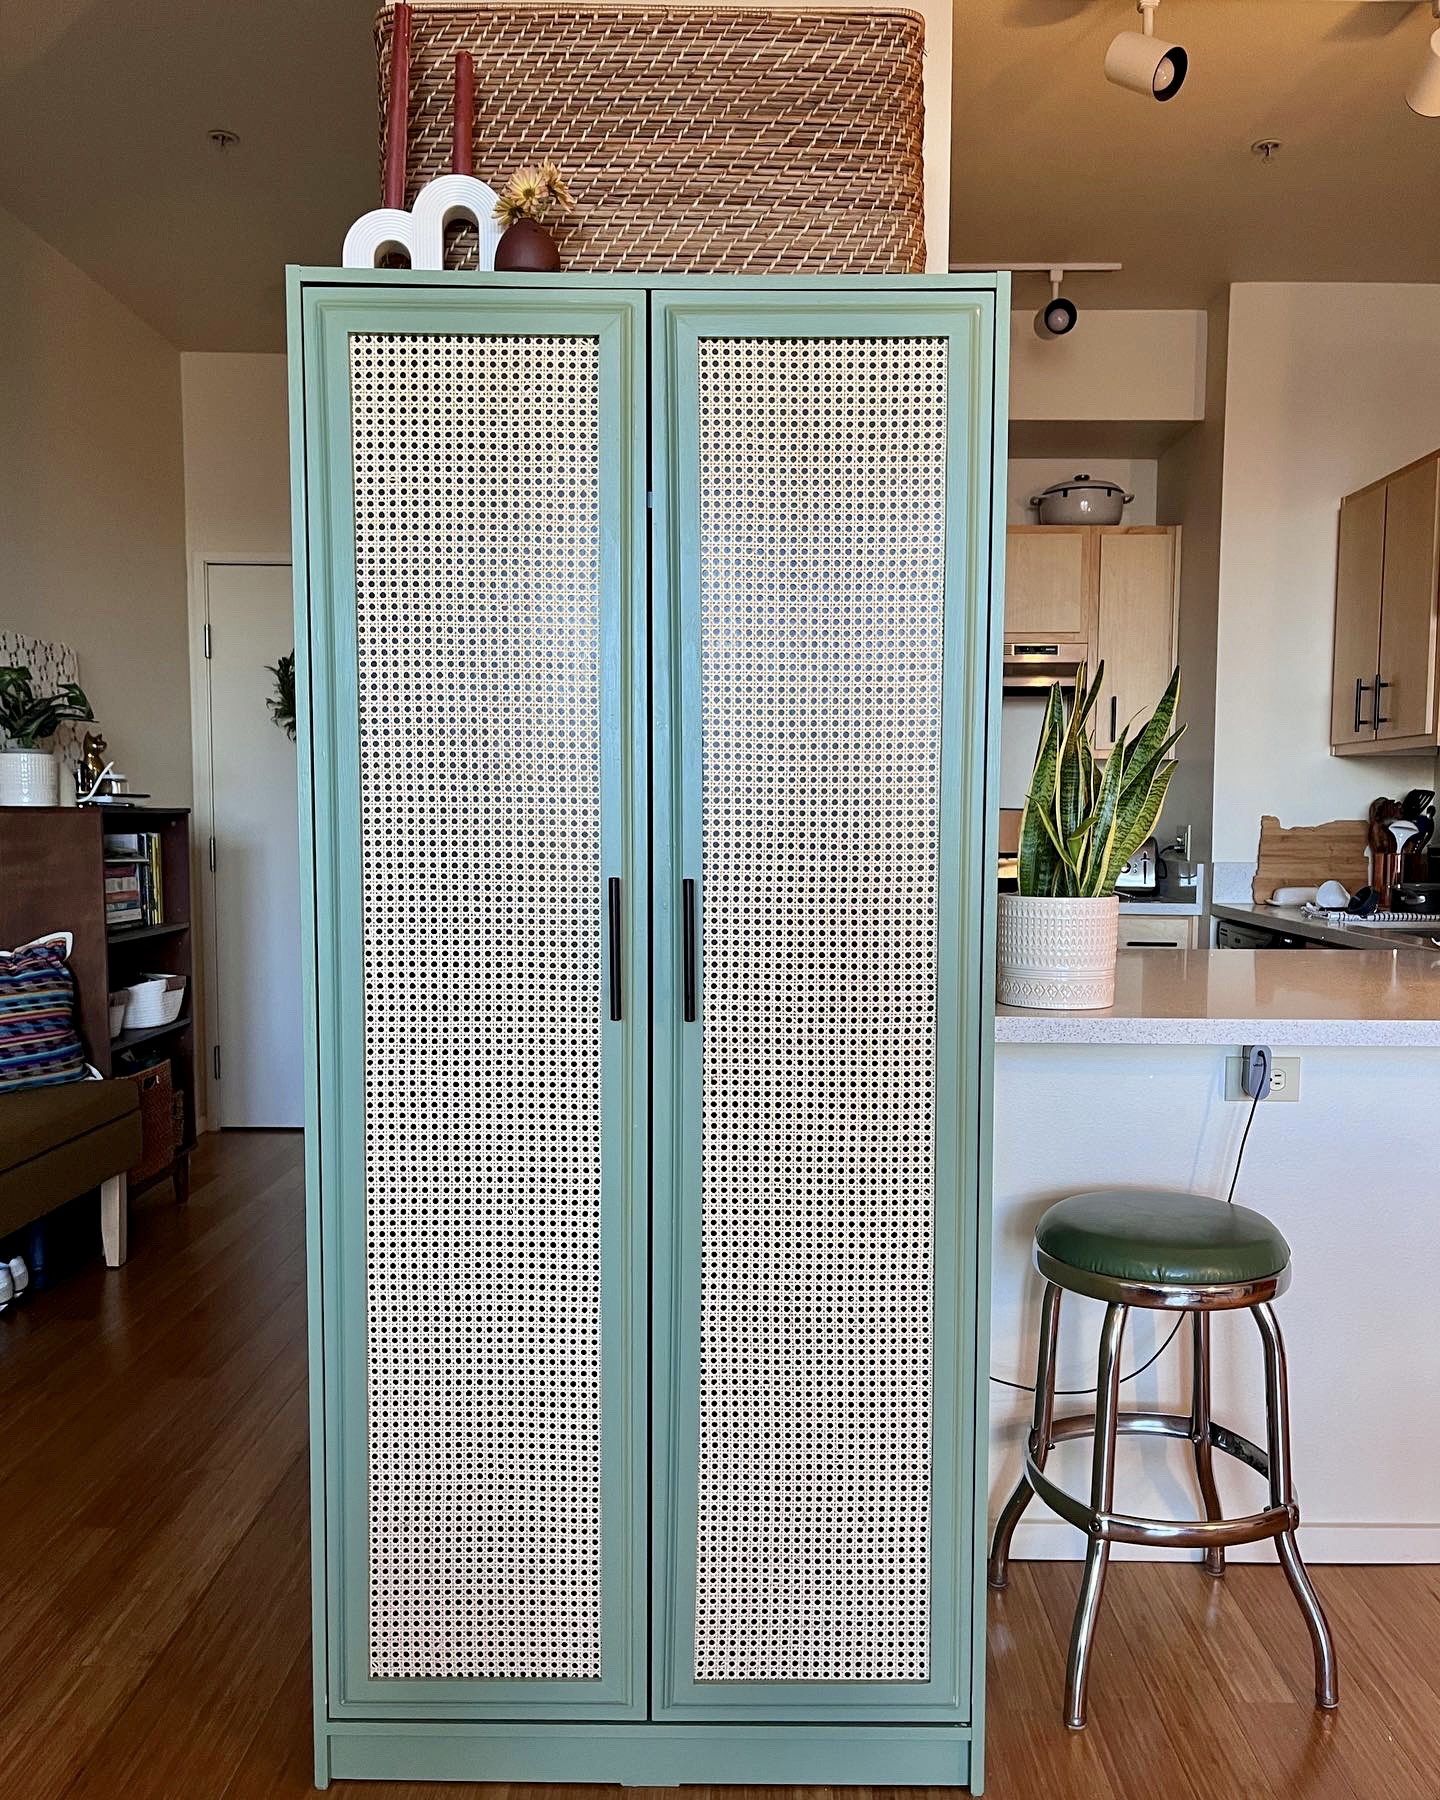
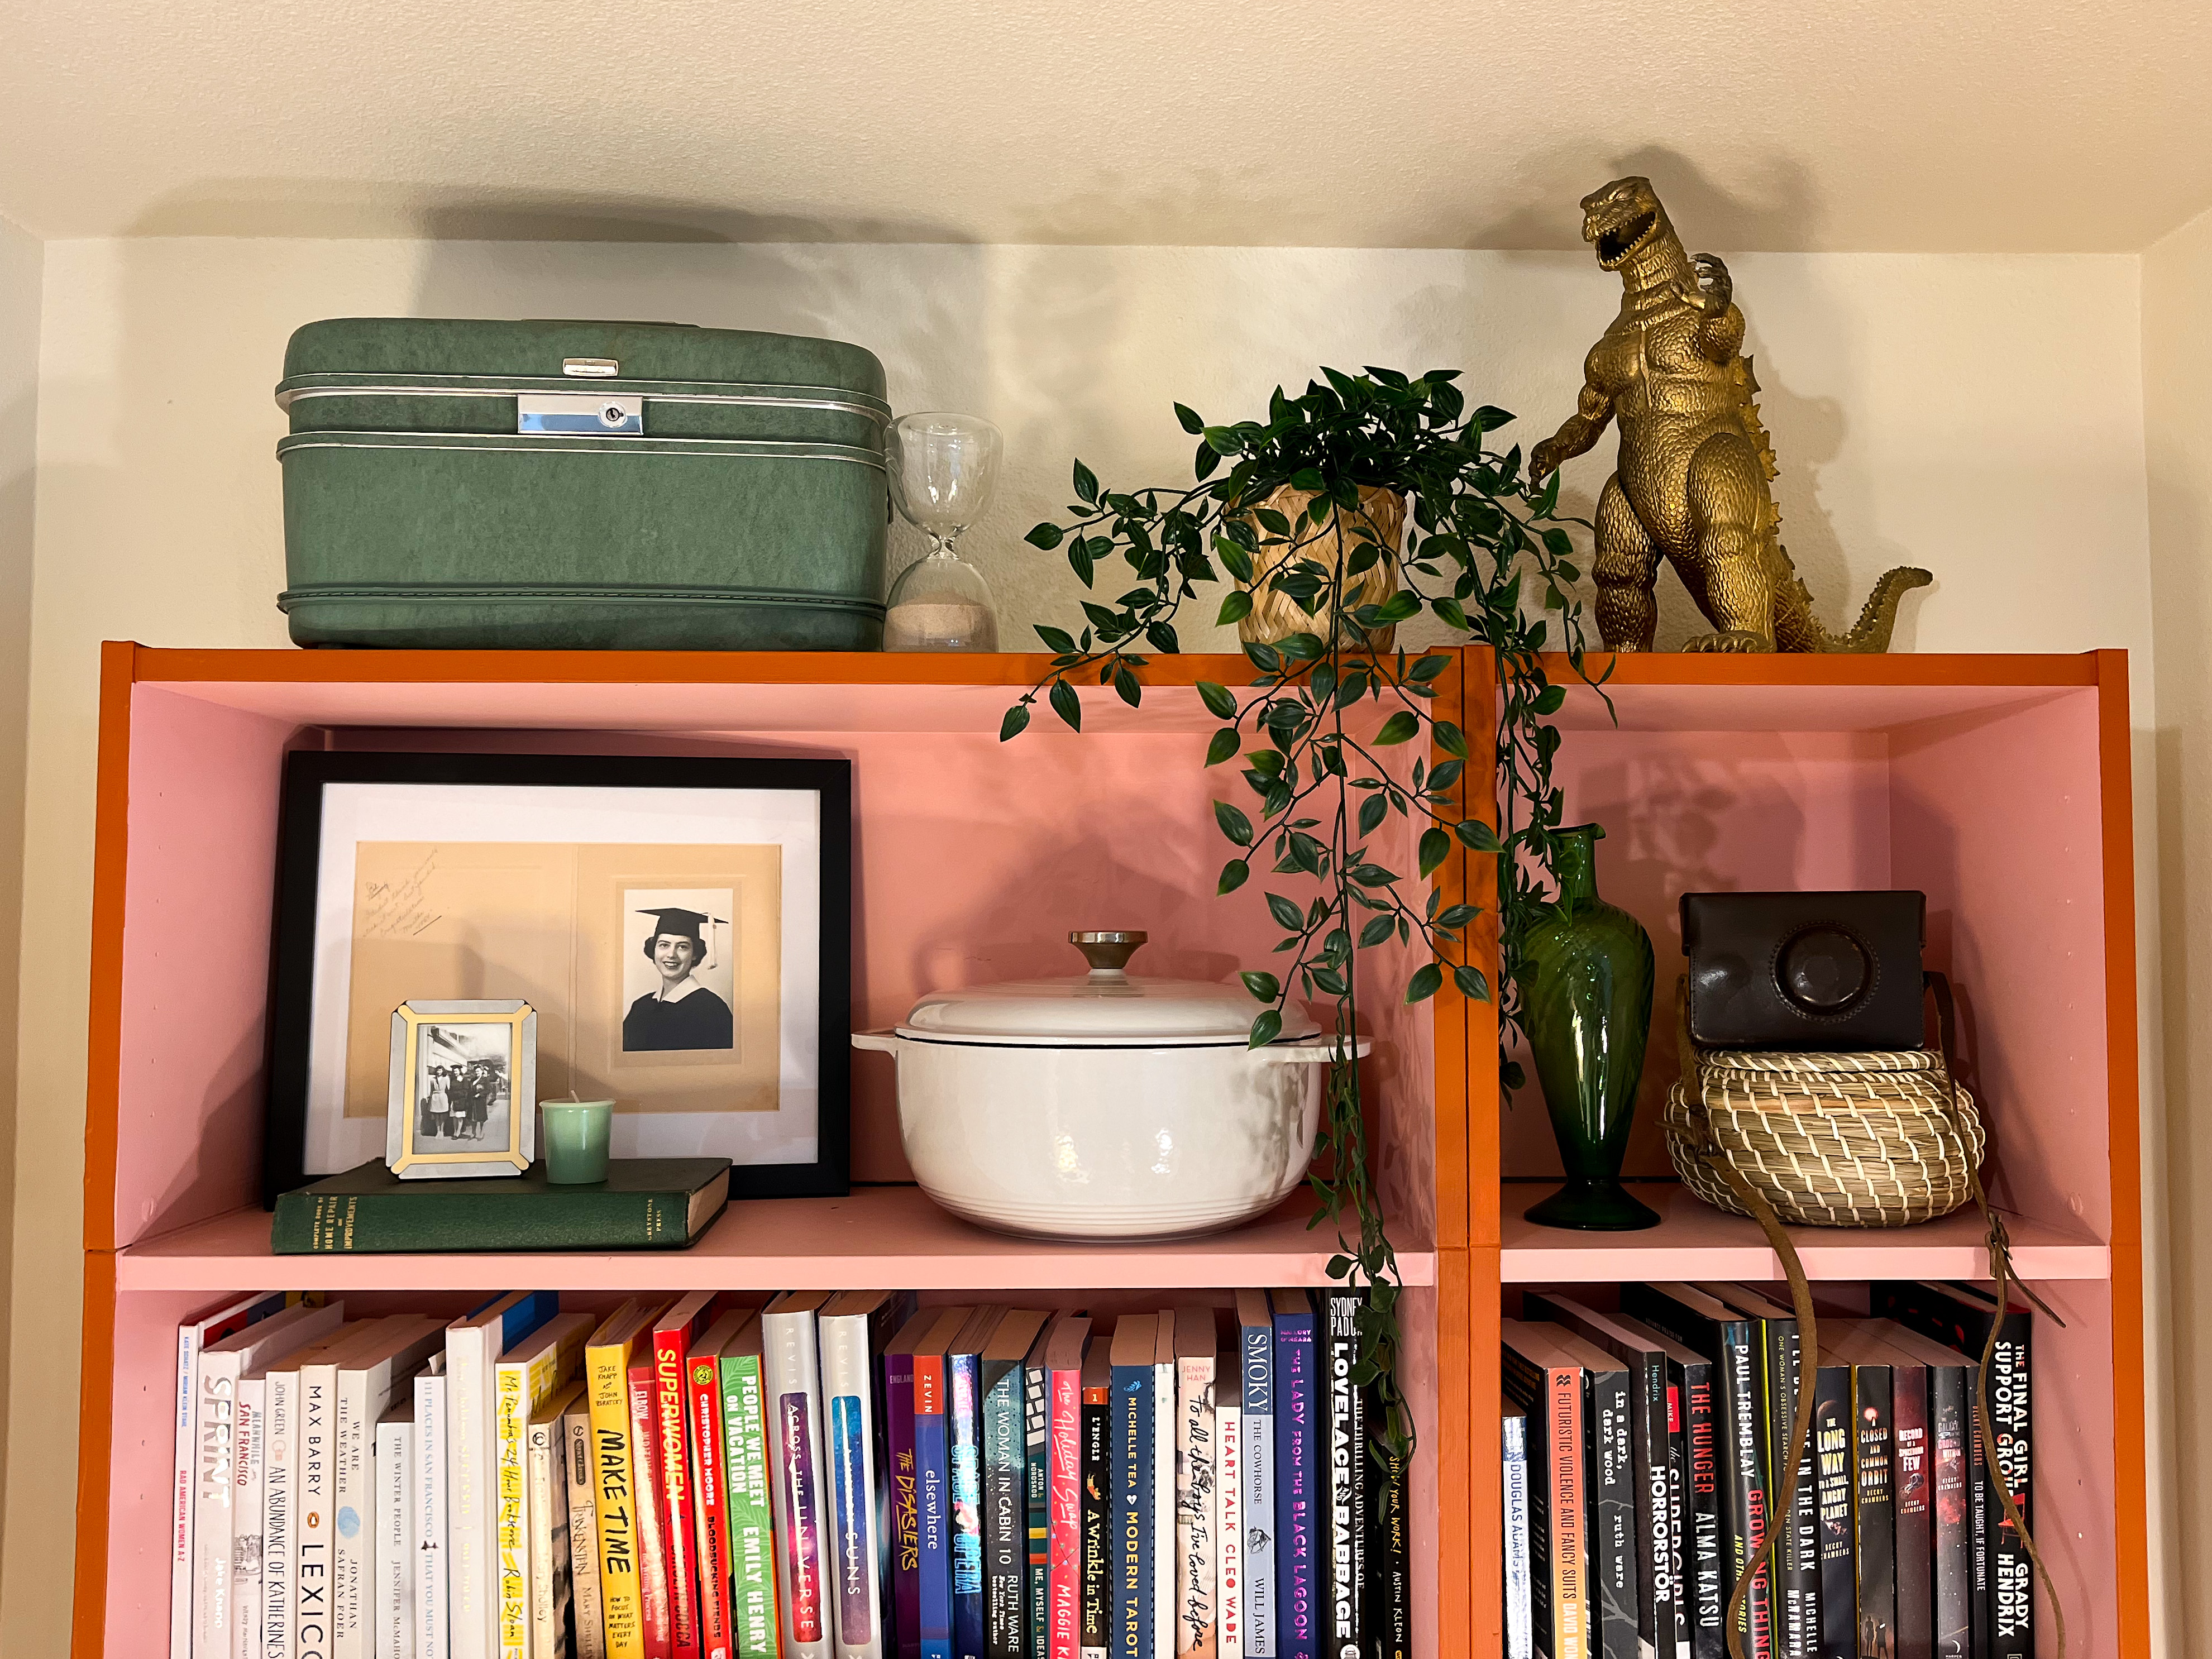
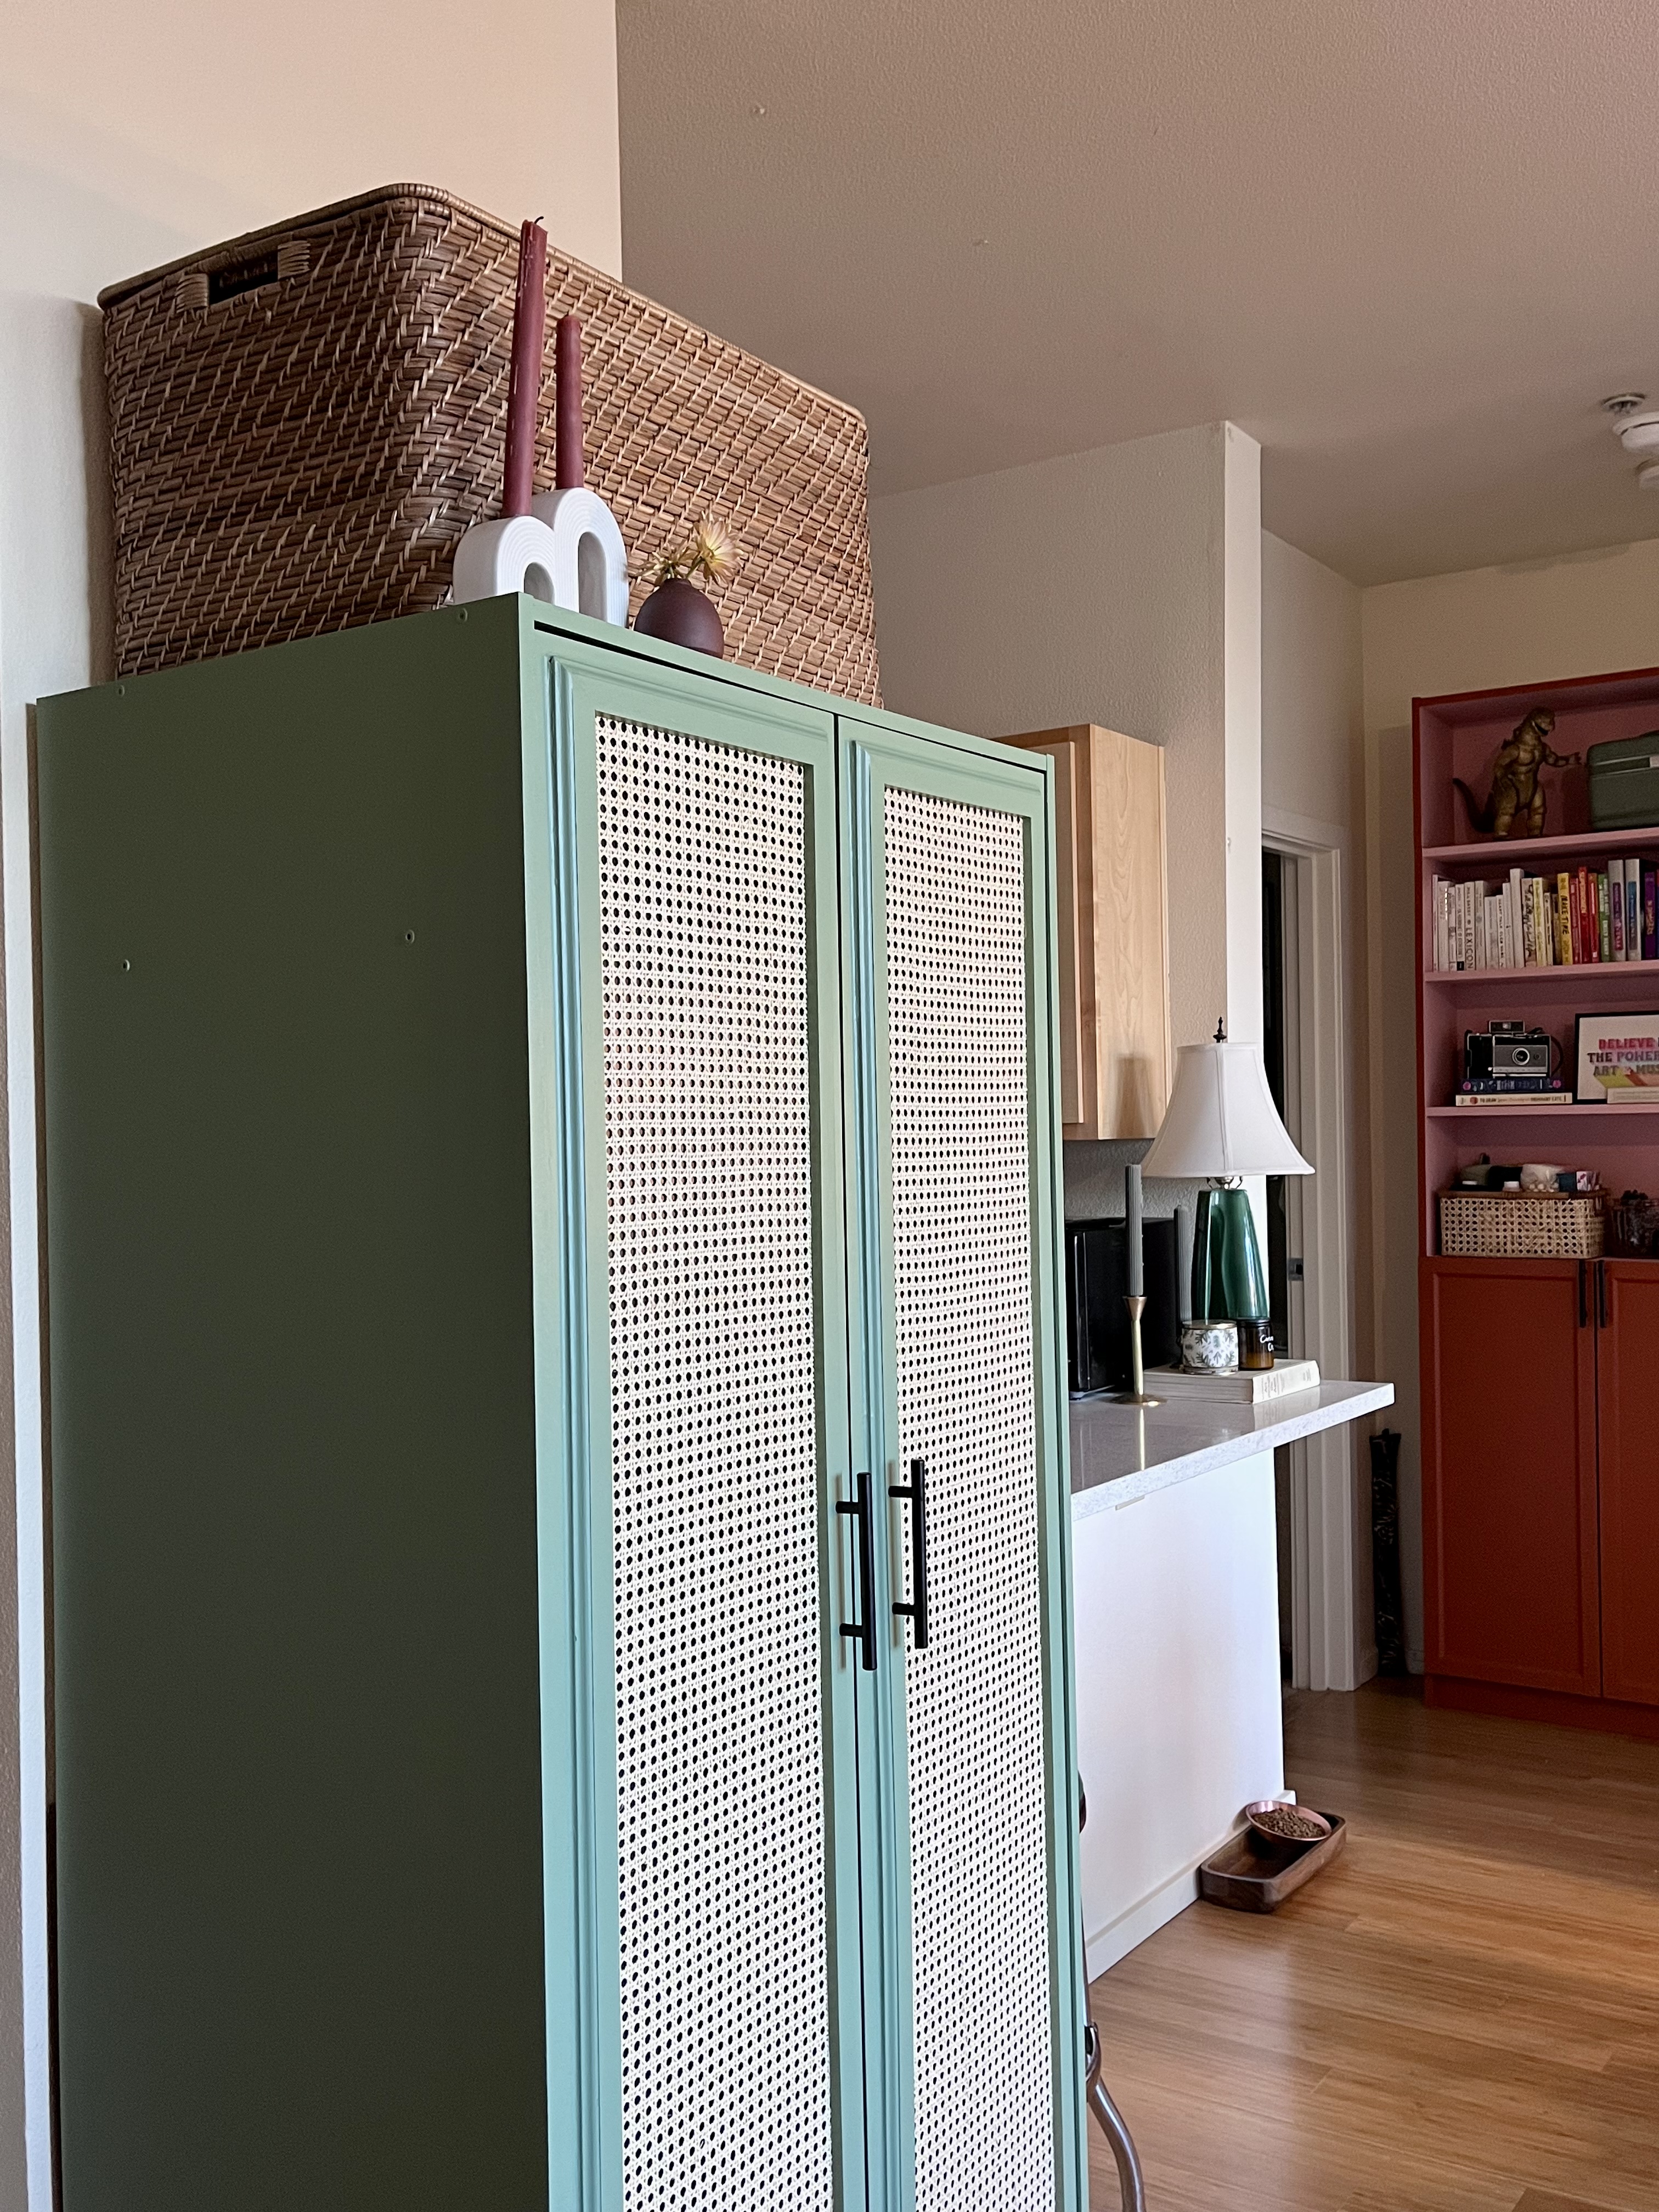
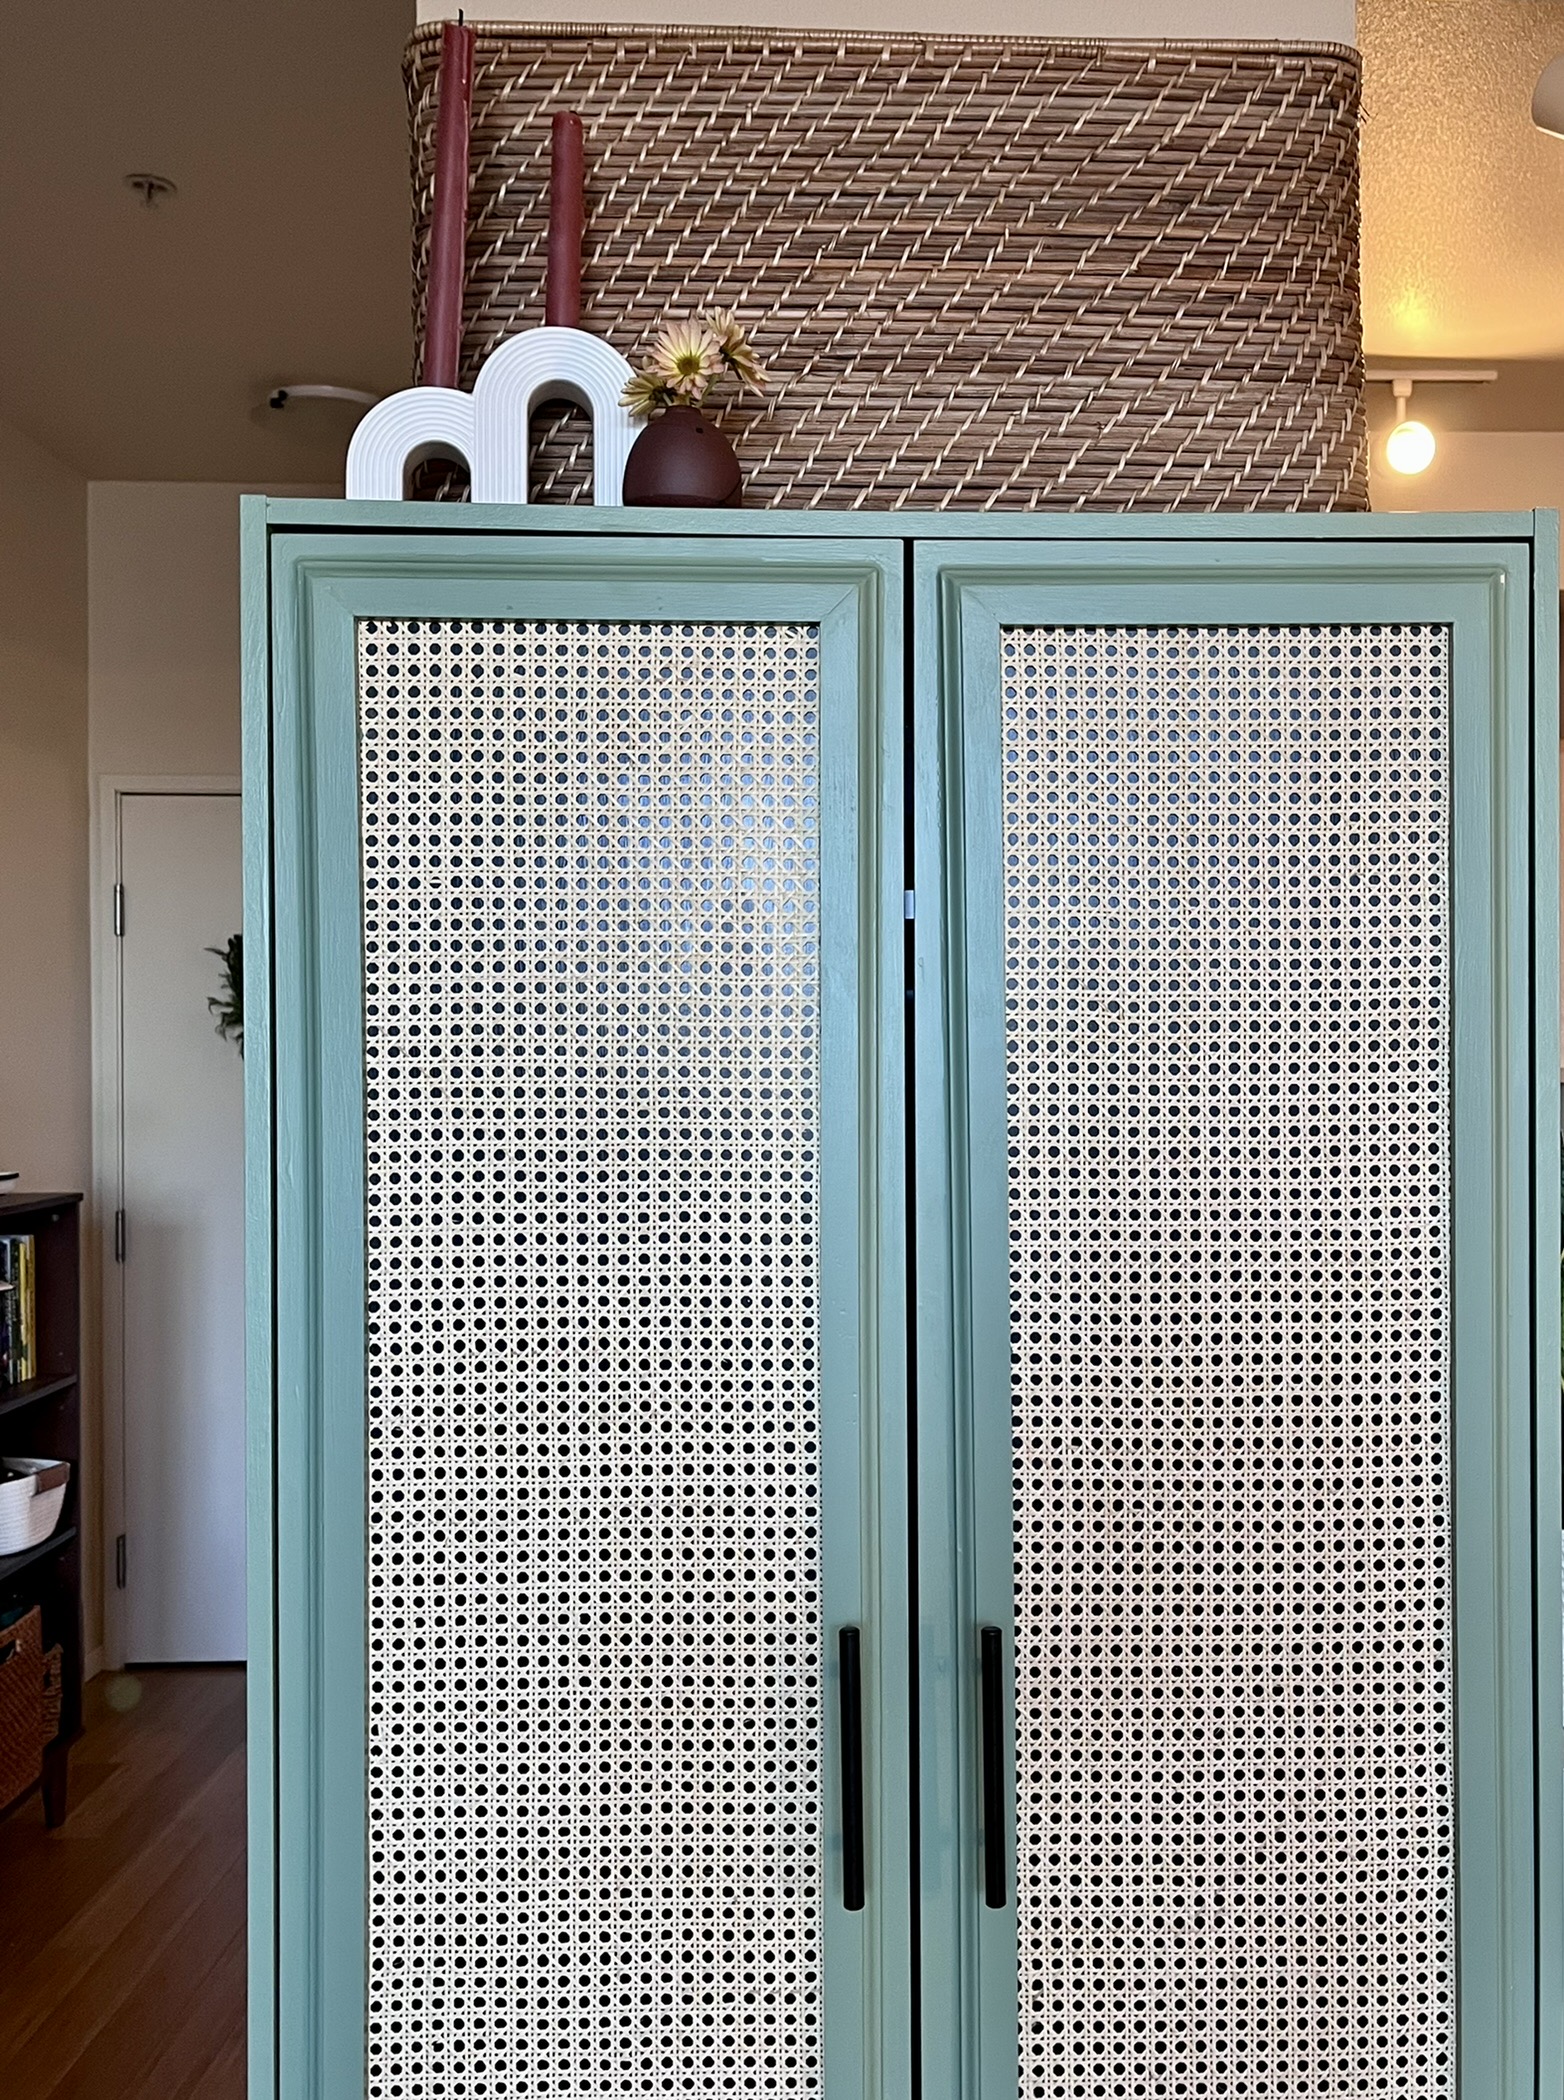
The three pieces I have so far painted have been a Billy Bookcase, a Narrow Billy Bookcase, and a 2-door Kleppstad.
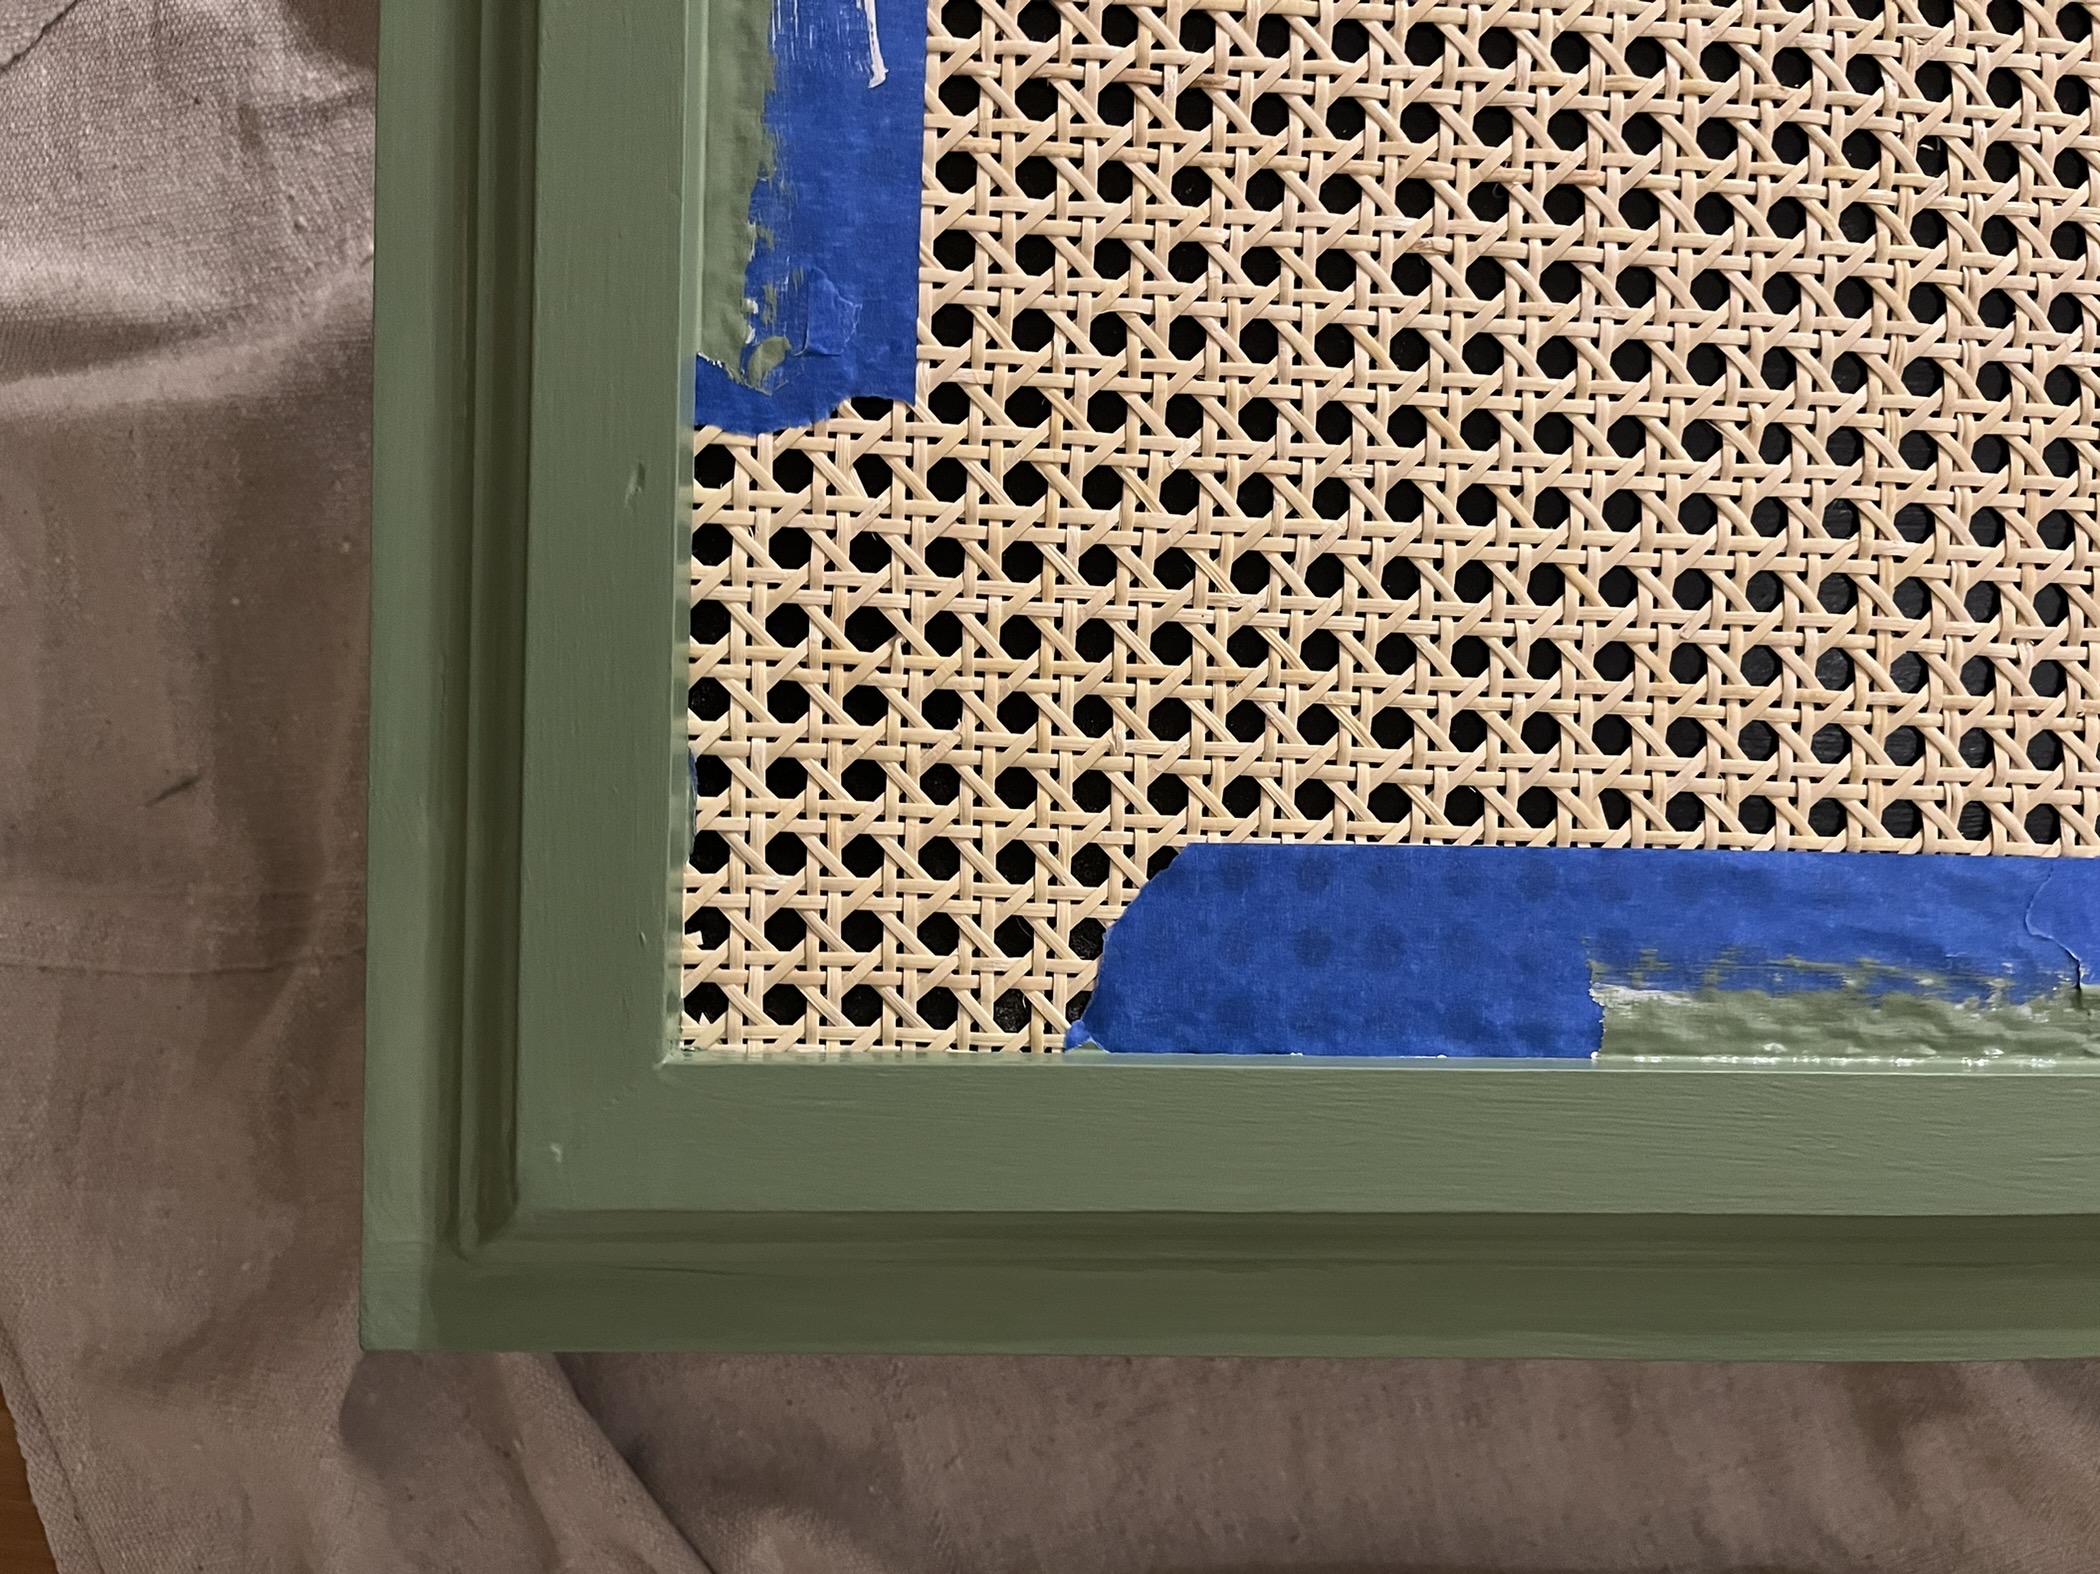
With the Kleppstad, I went beyond just painting. I used trim and cane webbing to give it a few extra details. No jigsaw cuts here, just black paint to create a dark background!